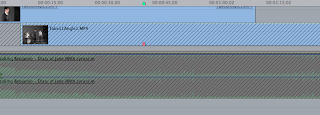
The RENDER BAR the bane in every editors existence. The render bar appears when a file is moved within the timeline, and must be 'Re-rendered' to it's new position.

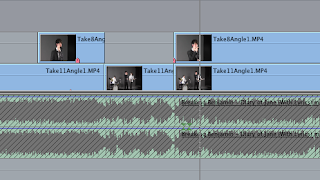
This image clearly shows the benefits of using markers to synch audio, as the to different coloured markers represent the two files. The snapping feature allows for the markers to snap into place.

The timeline allows the editor to view the sound waves of the audio tracks. This in-turn allows for quick and simple synching of the audio tracks, by matching the audio-waves.

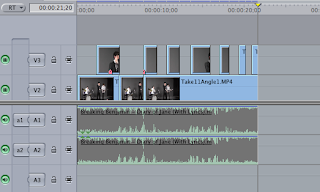
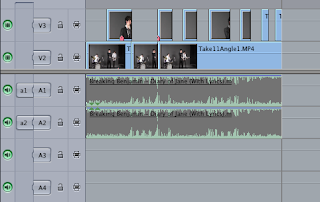
The timeline is the place where the video and audio files are placed in the order in which they are played. There are many tools present on the timeline to aid the editing process. The most prominent being the 'Lock' the lock freezes everything in that specific audio/video channel for any changes. This is imperative when working with multiple files in different channels, that the effect in one channel does not ripple into the others.

This is the marker tool, a imperative tool in the creation of the music video, as this tool allow the editor to synch video and audio seamlessly.
Our editors, Dan Spurway & Alex Preston, have created 'Bins' to organise the film clips into specific groups. Such as Jane 1, Band 1. This allows for easier searching for clips.

The green button on the left hand side of the image, allow for a video or audio file to become silent/invisible. This can be used to view a segment on a lower video channel without deleting the files above.

This tool was extremely helpful as the change opacity allowed us to create interesting affects in the video. Also the line to the right allow for the opacity to be changed throughout each specific clip.

No comments:
Post a Comment